
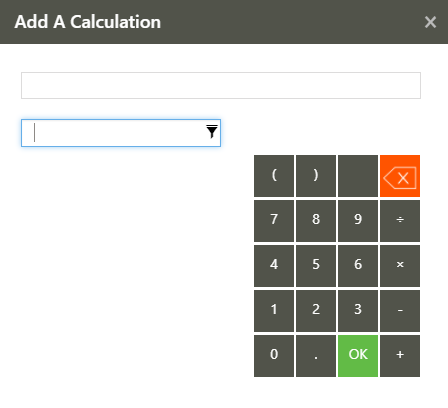
To create insightful and highly customizable reports, Sage Intelligence provides you with the ability to add calculated columns and rows to your reports. These can be used to calculate, for example, variances, totals and other indicators at account and account category level, or based on your columns. The below provides and explanation of the different parts of the calculator and explains the two ways that you can access it to be able to add calculations to your reports.

- Calculation Field – used to display the calculation you enter.
- Filter – filters the rows or columns under the row/column list.
- Row/Column List (rows are displayed in the above image) – displays any value based rows/columns already added to the report and you can click on a row/column to include it in a calculation.
- Calculation Operators – use these operators to build up and edit your calculation.
Use either of the following two ways to access the calculator. The below is at the column level.
Using Add Calculation
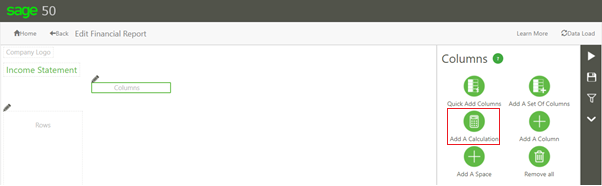
- In the Online Report Designer, select the Columns area.

- From the Design Pane, select Add a Calculation.
- The Calculator screen will now appear, and you can go ahead and build up the function you want. Take note that value based columns will first need to be added to the columns area for them to appear in the calculator for you to be able to define your function.
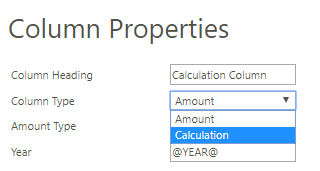
Selecting the Calculation column type
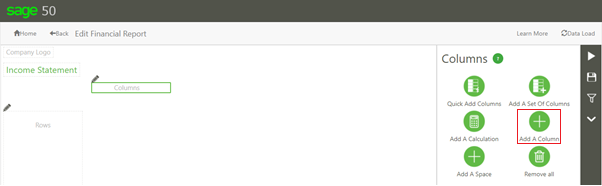
- Select the Columns area.
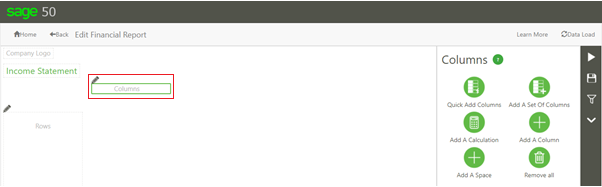
- From the Design Pane, select Add a Column.
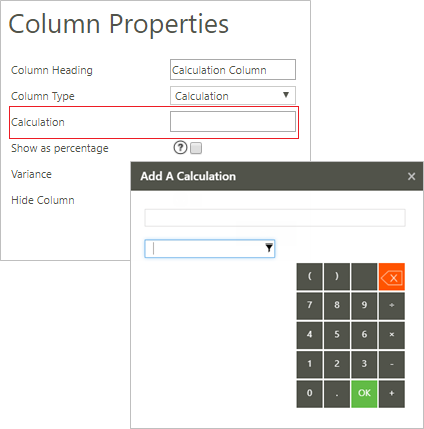
- After giving your column a name, from the Column Type drop-down, select Calculation. The remaining fields in the pane will change accordingly.
- Now when you click on the Calculation field, the calculator will appear. Once again, take note that value based columns will first need to be added to the columns area for them to appear in the calculator and for you to be able to define your function.
The above two methods are the same for row calculations except, as I’m sure you can guess, in this case you would first need to select the rows area and then either Add a Calculation or Add a Row.
Stay tuned for our upcoming tips where we will discuss making use of the calculator in more depth.
The post Two ways to create calculated columns and rows in your Sage Intelligence reports appeared first on Sage Intelligence.
Source: Sage Intelligence