Sage Intelligence now allows you to filter your report based on a fiscal period. No more cluttered reports, and no more redundant editing of report layouts to get your desired results!
How Sage Intelligence determines Fiscal Periods
Before we dive into the new ‘Up to Period’ feature, it is important for you to understand how Sage Intelligence Fiscal Periods work.
- In your Sage Business Cloud Accounting solution, your Financial Year End Date is defined.

2. From this Financial Year End Date, your Financial Year Start Date is calculated. This determines your Fiscal Year.

Note: Sage Intelligence uses the year within which the Financial Year End date falls. Thus in the above example, your Financial Year is 2019.
3. This Fiscal Year is then divided evenly into 12 Fiscal Periods.

So for example, if you create a Sage Intelligence Report that references Period 6, then all transactions occurring between 01/12/2018 and 31/12/2018 will be totaled and displayed in your report per Category Group, Account Category or Account.
Using the new Up to Period filter
Now that you have a better understanding of how Fiscal Period works in Sage Intelligence, you are now ready to explore the new ‘Up to Period’ feature.
When you run a Financial Report in Sage Intelligence, you will be prompted to select filters and settings to base your report values on. You can run the report by clicking on the report name, or by clicking on the Run button in the report’s details menu.
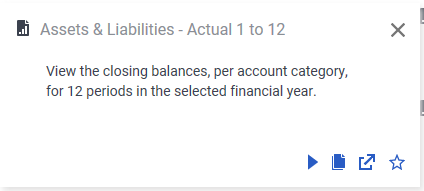
Doing so, will open up the filter window, prompting you to select your filters and settings.
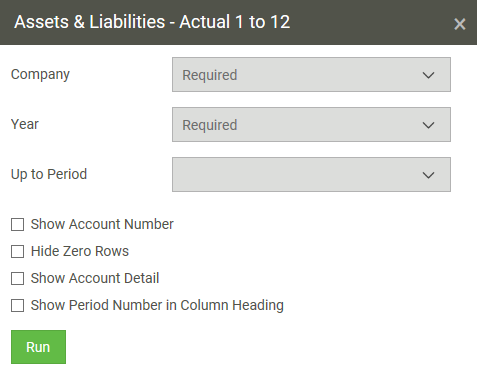
If you would like to select an Up to Period filter, simply click on the “Up to Period” drop-down menu.
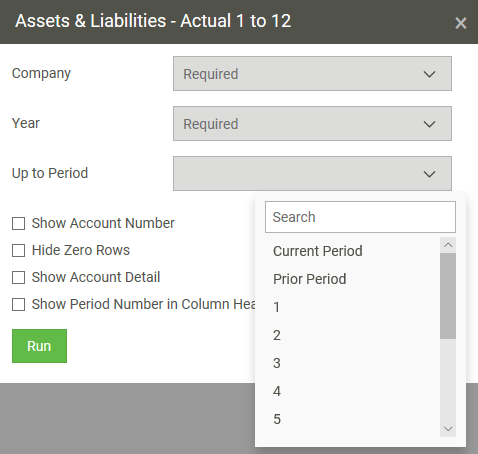
From this menu, you can select the following:
- Current Period (Fiscal)
- Prior Period (Fiscal)
- Periods 1 to 12 (Fiscal)
Initially the Up to Period filter will be left BLANK, meaning that no period filter will be used, and the report will display as per default design.
You can now select the other desired filters and settings from the above dialog and click on Run. Your financial report will generate as per default design.
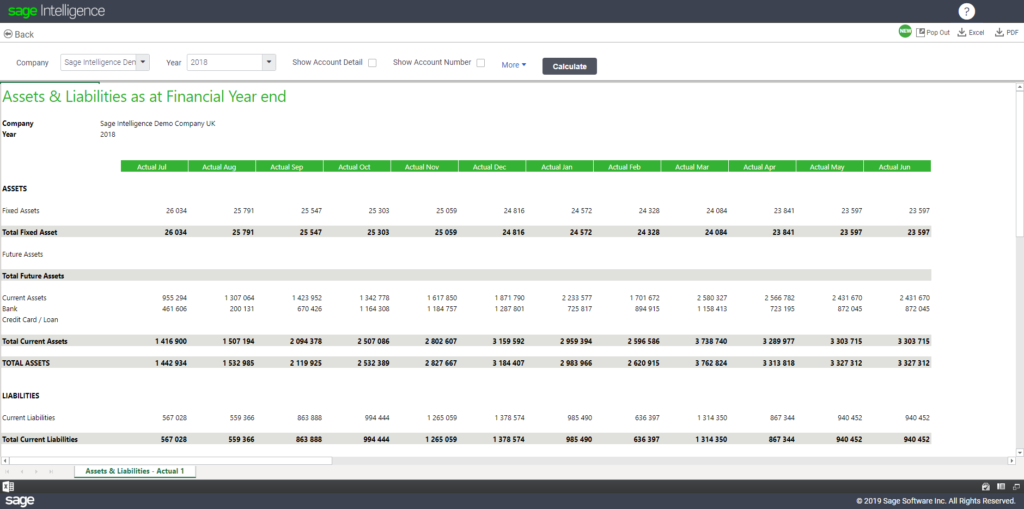
If you feel that the report is displaying periods that are not relevant at that specific point in time, you can do the following:
- Click on the More Button on the Filter Pane to display more report filters and settings.

2. From the Up to Period drop-down, select the desired period (e.g 6).

3. Click on Calculate.
4. You will now notice that the report only displays periods up to the selected period, 6, leaving you with a more clean and uncluttered financial report.
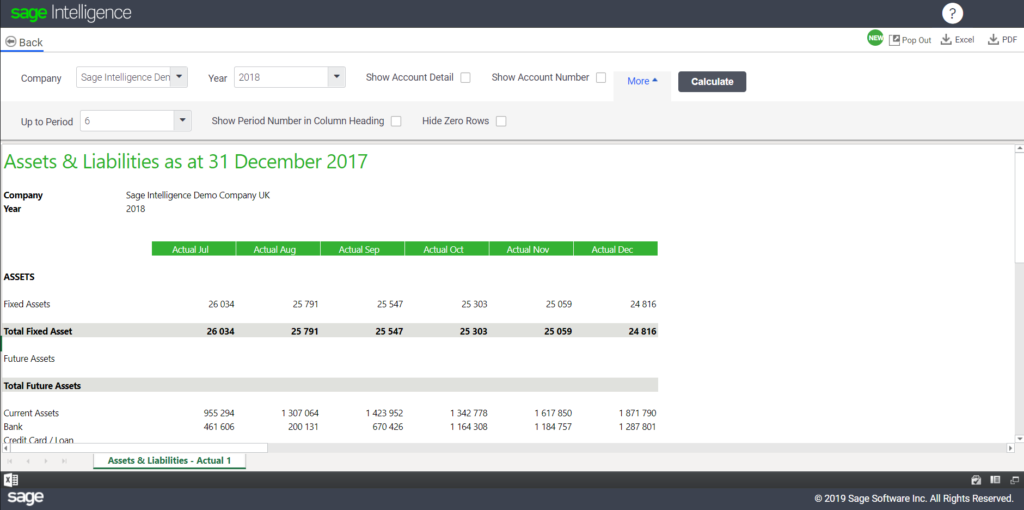
In the above example, you can see that periods greater than 6 were hidden from the report.
5. You can now select different Up to Periods to remove any unnecessary periods from your report.
Important Notes
Exporting to Microsoft® Excel®
Please note that when you export your report to Excel, you can simply unhide the periods that were hidden from your report when you applied the Up to Period filter by simply using Excel’s ‘Unhide’ columns feature.
How are Quarters affected?
If you have included a Quarter period in your report, bare in mind that the values for that quarter will change according to the Up to Period filter selected.
For example, if you have created the following report, consisting of four columns, Quarter 1, Quarter 2, Quarter 3 and Quarter 4:
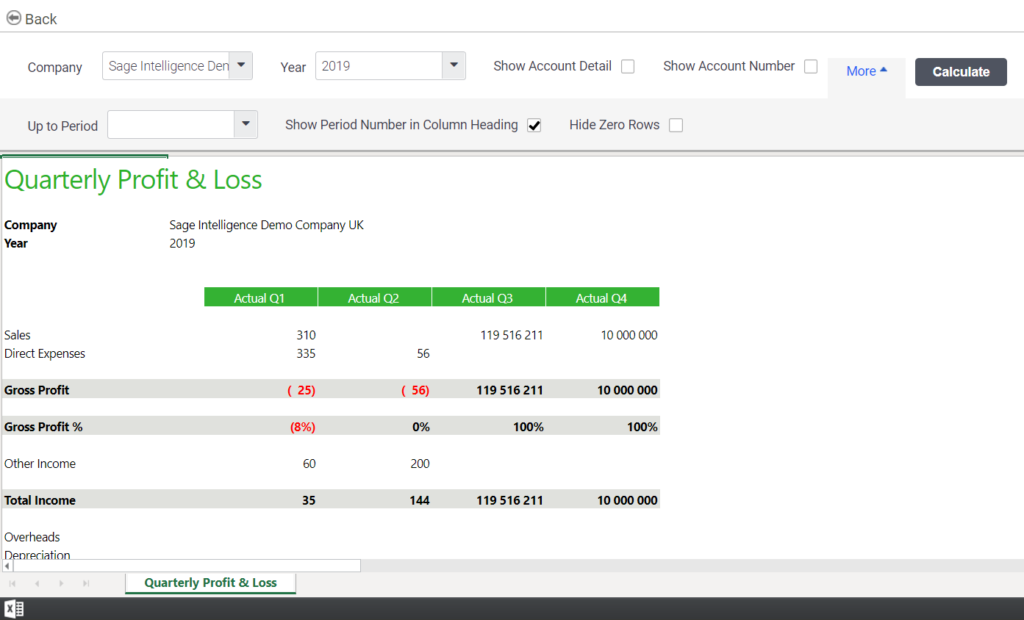
And then you select period 5 as an Up to Period, and run the report, the following will be the outcome.
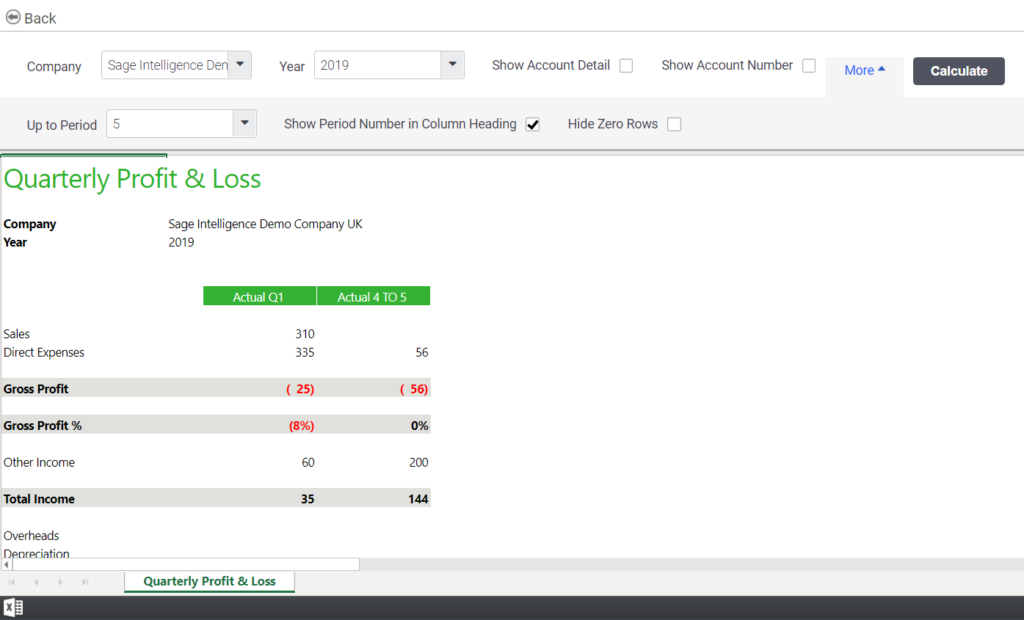
Quarters are defined as the following:

How are Calculation columns affected?
Please note that the Up to Period filter does not affect any calculation column.
The post How to use the new “Up to Period” filter in Sage Intelligence for Accounting appeared first on Sage Intelligence.
Source: Sage Intelligence
